Rhythm Deck Studio
Unleash Your Beat
← Back to Studio

Instructions Manual

Complete guide to every feature in Rhythm Deck Studio

STEP 01

Transport, Tempo & Metronome

This bar controls playback of your entire song. It lets you start/stop, set the speed (BPM), tap in a tempo, and hear a metronome click for perfect timing.

  • Play button (green ▶) → Starts or pauses playback.
  • Stop button (■) → Stops playback and returns to the beginning.
  • TAP TEMPO → Click repeatedly to set BPM by feel.
  • BPM box → Type any number (40–240) or use arrows.
  • Metronome button → Turns the click sound on/off.
Transport bar
Record Arm buttons
STEP 02

Track Arming & Recording

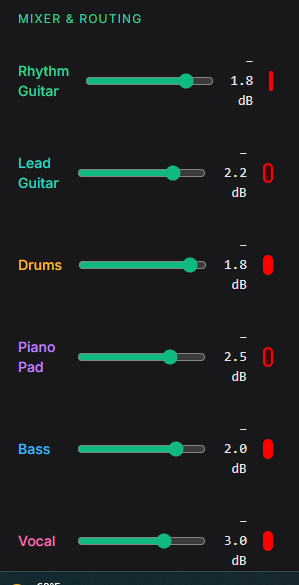
Each track has a red Record Arm button. Arming tells the studio "this track is ready to record".

  • Click the red circle on any track to arm it (turns bright red).
  • Press the green Play button from Step 1 to start recording on armed tracks.
  • Press Stop when finished — your performance is now on the timeline.
  • Arm multiple tracks to record several instruments at once.
STEP 03

Mixer, Volume, Pan & Routing

The left sidebar is your full mixing console. Control volume, stereo position, and send signals to effects.

  • Drag faders up/down to set track volume (shown in dB).
  • Click the Pan knob and drag left/right to position sound in stereo.
  • Click M to mute a track, S to solo it (hear only that track).
  • Reverb Send slider controls how much signal goes to reverb.
Mixer faders
Effects Rack
STEP 04

Effects Rack

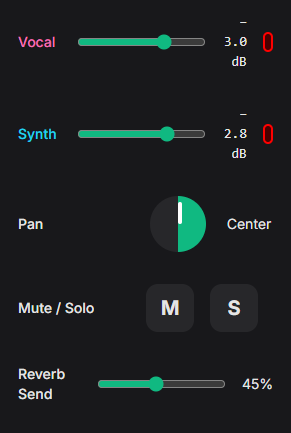
Shape your sound with professional effects. Every slider updates instantly.

  • EQ → boost or cut frequencies
  • Compression → evens out loud/soft parts
  • Distortion → adds grit and crunch
  • Delay → echoes
  • Reverb → space and depth
  • Chorus, Saturation, Phaser, Auto-Wah → creative movement
STEP 05

Timeline & Tracks

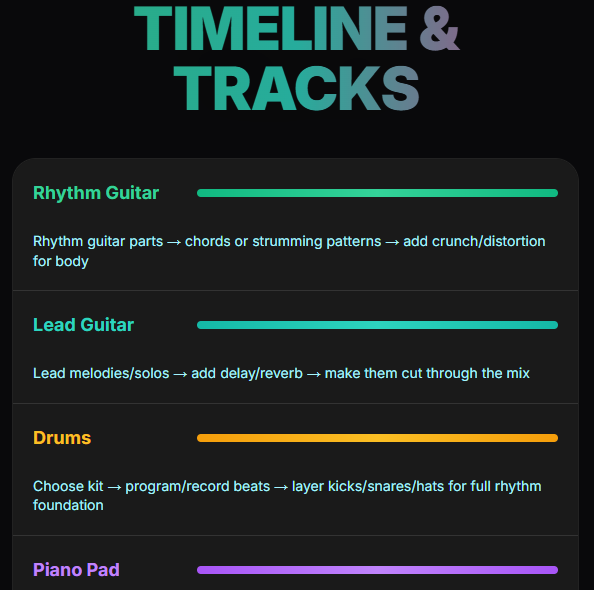
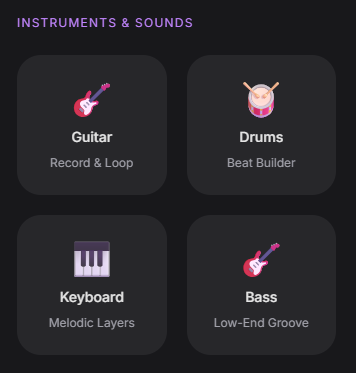
The main area where you build your song. Each row is a track (guitar, drums, vocals, etc.).

  • Drag loops from the right panel onto any track.
  • The colored bars are your audio/MIDI clips.
  • Each track shows helpful tips below it.
  • Record-arm a track and hit Play to add new recordings.
Timeline view
Piano Roll
STEP 06

Piano Roll Editor

Draw melodies and chords note-by-note.

  • Click anywhere on the grid to add a note.
  • Drag a note up/down to change pitch.
  • Drag left/right to move timing.
  • Drag the right edge to change note length.
  • Right-click (or long-press) deletes a note.
STEP 07

Drum Step Sequencer

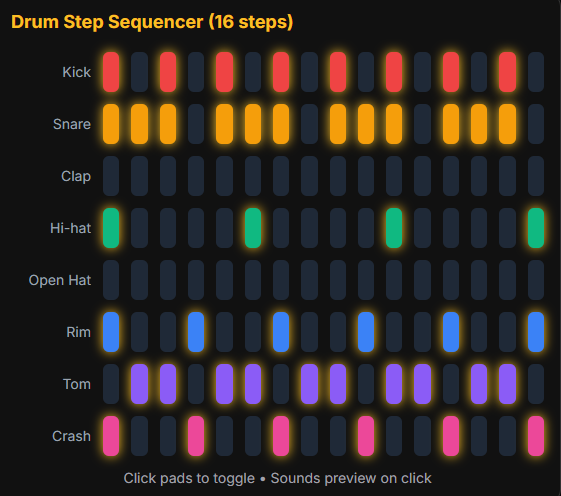
Build beats quickly with 16 steps and 8 drum sounds.

  • Click any pad to turn a drum hit on/off.
  • Each row is a different drum (kick, snare, hi-hat…).
  • Clicking a pad also previews the sound.
  • Play the transport to hear your pattern loop.
Drum sequencer
Virtual MIDI keyboard
STEP 08

Virtual MIDI Keyboard

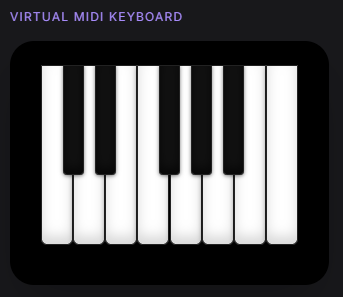
Play notes directly with your mouse or touchscreen — no hardware needed.

  • Click white or black keys to hear notes.
  • Hold mouse/touch for sustained notes.
  • Great for testing melodies before recording.
STEP 09

Loop Browser & Library

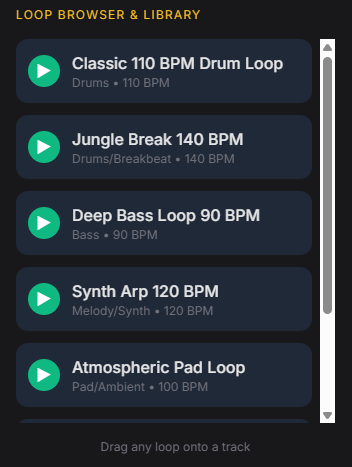
Ready-made loops you can drag straight into your song.

  • Click the ▶ button on any loop to preview it.
  • Drag any loop card onto the timeline.
  • Loops automatically match your project BPM.
Loop browser
Guitar to keyboard transformation
STEP 10

Guitar → Keyboard Mode

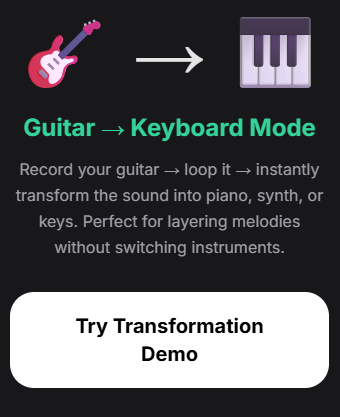
Record your guitar, then instantly turn it into piano, synth, or keys.

  • Record a guitar loop on any track.
  • Click the big “Guitar → Keyboard Mode” button.
  • Choose piano, synth, or pad sound.
  • Instant layered texture without changing instruments.
STEP 11

Instruments & Sounds Panel

  • Instrument Buttons (Guitar, Drums, Keyboard, Bass) → Click any of the four large icons to instantly switch to that instrument's recording/playback mode. Each one loads the appropriate sound engine and interface for fast creation.
  • Guitar - Lead/Rhythm → Plug in or use mic → record riffs → loop sections → add effects like distortion or reverb
  • Guitar - Bass → Bass: Lay down groovy lines → lock with drums → use compression to make it punchy and sit perfectly in the mix
  • Drums → hoose kit → program beats or record live → layer kicks, snares, hats for full rhythm section
  • Keyboard → Play chords or melodies → add sustain, reverb, delay → create atmospheric pads or leads
Instruments & Sounds panel overview
Guitar to keyboard transformation
FINAL STEP

Export Your Mix

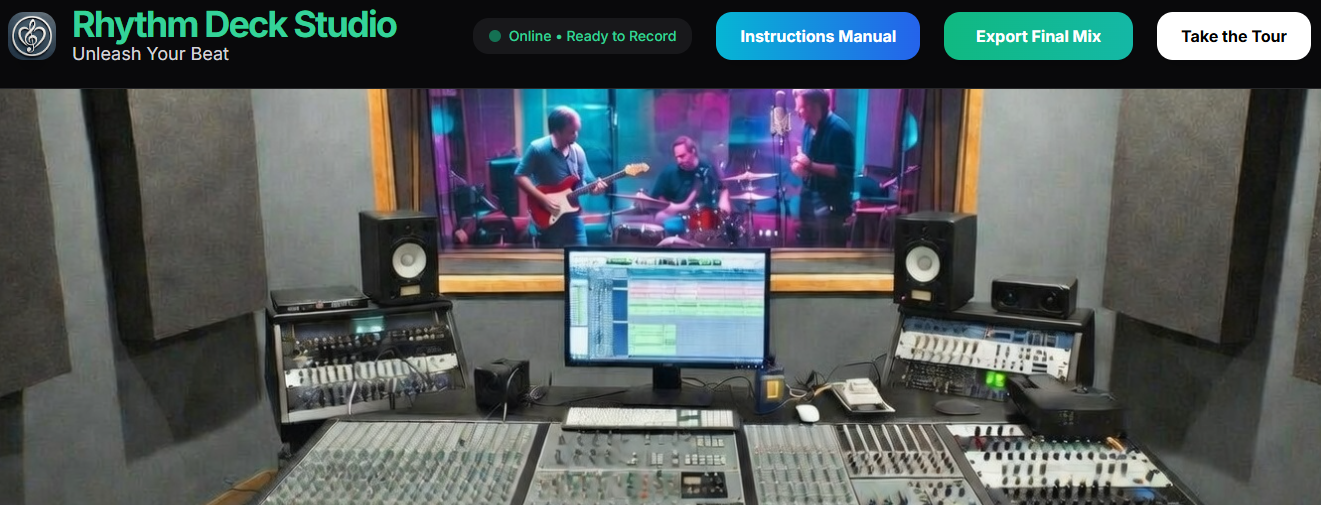
When your song is finished, click the big green Export Final Mix button in the top right.
It creates a professional stereo file ready to share.

📤